
Nagios is a
powerful Open Source Monitoring tool that provides you with instant awareness
of your organization's mission-critical IT infrastructure. Nagios allows you to
detect and repair problems and mitigate future issues before they affect
end-users and customers.
We can monitor remote host and their services (HTTP, MYSQL, Disk Space etc) remotely. Its show’s warnings and alerts if something went wrong in remote servers, which will help us to detect the problem in server and find a solution for the issue which helps us to reduce the downtime of server.

Nagios will be installed in a server where we will monitor all our client machines and in client side we will install Nagios NRPE (Nagios Remote Plugin Executor) which will communicate with the Nagios server and send client machine status.
Step 1: Install Required Packages and Dependencies in Nagios Server
We need to install Apache, Php and supporting libraries file such as gcc, glibc, glibc-common, and GD libraries.
To install nagios through yum we need to add EPEL repository in yum.
Now install nagios via yum
Step 2 : Configure Nagios Server
Add the admin mail address in the nagios contact file to receive alerts from nagios server.
To allow Nagios server admin link from particular ip address (192.168.1.54).
Now we can access Nagios admin link only from localhost and 192.168.1.54.
Step 3 : Create User and password for Nagios Admin.
Step 4 : Start Apache and Nagios service and make chkconfig(Service Start automatically on every boot).
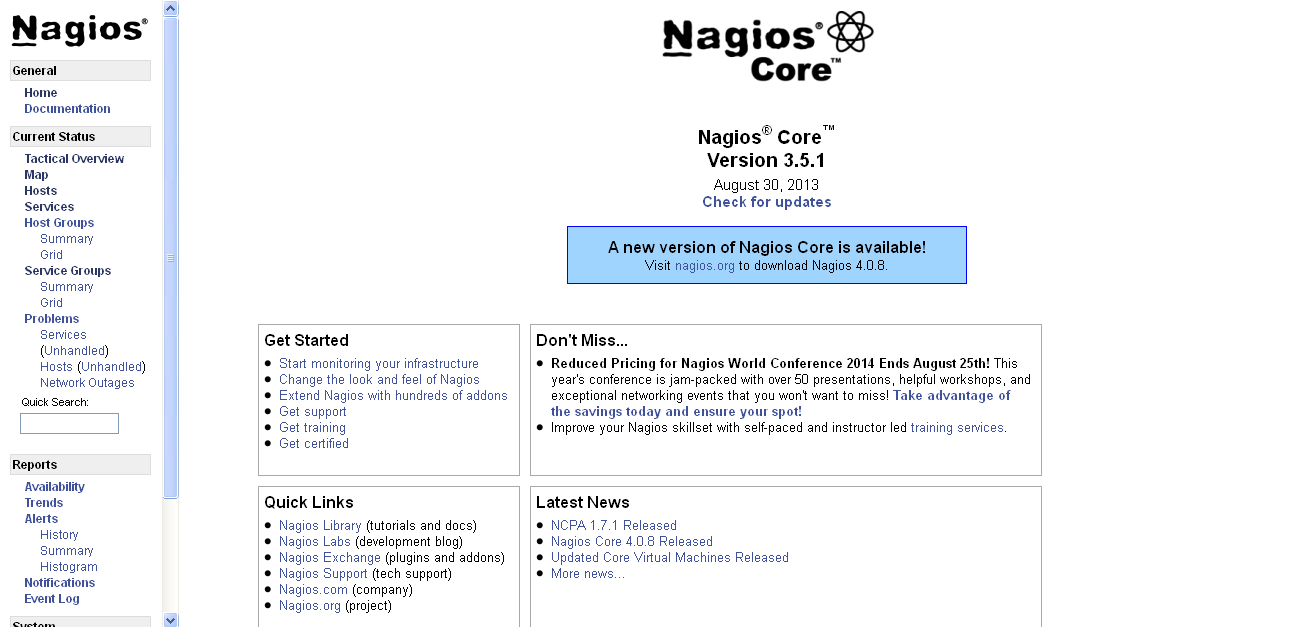
Now access the Nagios admin link and enter user & password which created before.
Link : http://localhost/nagios
Step 5 : Installing NRPE on Nagios Remote Host server’s
NRPE Nagios Remote Plugin Executor which allows you to remotely execute Nagios plugins on other Linux/Unix machines. This allows you to monitor remote machine metrics (disk usage, CPU load, etc.). NRPE can also communicate with some of the Windows agent addons, so you can execute scripts and check metrics on remote Windows machines as well.
Configure nrpe configuration in remote host by adding Nagios server ipaddress.
Restart the nrpe service in remote host.
Step 6 : Now switch back to Nagios server and edit below configuration file.
By default NRPE command wont be available in commands.cfg, to execute the in check_nrpe command in configuration file we need to add it in commands.cfg
Now Change configuration in nagios.cfg
Create a directory called “servers” under “/etc/nagios/”.
Now create a configuration files for remote host server's in /etc/nagios/servers path.
same configuration should to be done for all remote host client machines.
Restart the Nagios server, after all configuration's done in both client and server side.
Now access the Nagios Monitoring Tool in Web Interface by using Nagios admin link and make sure services for remote host.
Nagios Host View

Nagios Service View

We can monitor remote host and their services (HTTP, MYSQL, Disk Space etc) remotely. Its show’s warnings and alerts if something went wrong in remote servers, which will help us to detect the problem in server and find a solution for the issue which helps us to reduce the downtime of server.
Nagios will be installed in a server where we will monitor all our client machines and in client side we will install Nagios NRPE (Nagios Remote Plugin Executor) which will communicate with the Nagios server and send client machine status.
Step 1: Install Required Packages and Dependencies in Nagios Server
We need to install Apache, Php and supporting libraries file such as gcc, glibc, glibc-common, and GD libraries.
[root@linuxstorages ~]#yum install gd gd-devel gcc glibc glibc-common -y
To install nagios through yum we need to add EPEL repository in yum.
[root@linuxstorages ~]# wget http://dl.fedoraproject.org/pub/epel/6/i386/epel-release-6-8.noarch.rpm
[root@linuxstorages ~]#rpm -ivh epel-release-6-8.noarch.rpm
Now install nagios via yum
[root@linuxstorages ~]#yum install nagios* -y
Step 2 : Configure Nagios Server
Add the admin mail address in the nagios contact file to receive alerts from nagios server.
[root@linuxstorages ~] vi /etc/nagios/objects/contacts.cfg
#
# CONTACTS
#
###############################################################################
###############################################################################
# Just one contact defined by default - the Nagios admin (that's you)
# This contact definition inherits a lot of default values from the 'generic-contact'
# template which is defined elsewhere.
#define contact{
# contact_name nagiosadmin ; Short name of user
# use generic-contact ; Inherit default values #from generic-contact template (defined above)
# alias Nagios Admin ; Full name of user
# email nagios@localhost ; <<***** CHANGE THIS TO #YOUR EMAIL ADDRESS ******
# }
define contact{
contact_name pravin_contact ; Short name of user
use generic-contact ; Inherit default values from generic-contact template (defined above)
alias Nagios Admin ; Full name of user
email pravin@linuxstorages.com ; <<***** CHANGE THIS TO YOUR EMAIL ADDRESS ******
}
:wq(save file)
To allow Nagios server admin link from particular ip address (192.168.1.54).
[root@linuxstorages ~]# vi /etc/httpd/conf.d/nagios.conf
## Comment Lines 15 & 16 ##
# Order allow,deny
# Allow from all
## Uncomment and Change lines 17,18 & 19 as shown below ##
Order deny,allow
Deny from all
Allow from 127.0.0.1 192.168.1.54
:wq (save)
Now we can access Nagios admin link only from localhost and 192.168.1.54.
Step 3 : Create User and password for Nagios Admin.
[root@linuxstorages ~]# htpasswd /etc/nagios/passwd nagiosadmin
New password:
Re-type new password:
Updating password for user nagiosadmin
Step 4 : Start Apache and Nagios service and make chkconfig(Service Start automatically on every boot).
[root@linuxstorages ~]# /etc/init.d/nagios start
Starting nagios: done.
[root@linuxstorages ~]#/etc/init.d/httpd start
Starting httpd: [ OK ]
[root@linuxstorages ~]#chkconfig nagios on
[root@linuxstorages ~]#chkconfig httpd on
Now access the Nagios admin link and enter user & password which created before.
Link : http://localhost/nagios
Step 5 : Installing NRPE on Nagios Remote Host server’s
NRPE Nagios Remote Plugin Executor which allows you to remotely execute Nagios plugins on other Linux/Unix machines. This allows you to monitor remote machine metrics (disk usage, CPU load, etc.). NRPE can also communicate with some of the Windows agent addons, so you can execute scripts and check metrics on remote Windows machines as well.
[root@linuxstorages ~]# yum install nagios-plugins-all nrpe openssl
Configure nrpe configuration in remote host by adding Nagios server ipaddress.
[root@linuxstorages ~]# vi /etc/nagios/nrpe.cfg
[...]
## Line 81 - Add the Nagios server IP and check_nrpe commands ##
allowed_hosts=127.0.0.1,192.168.1.54
##Line 210 ##
command[check_users]=/usr/lib64/nagios/plugins/check_users -w 5 -c 10
command[check_load]=/usr/lib64/nagios/plugins/check_load -w 15,10,5 -c 30,25,20
command[check_hda1]=/usr/lib64/nagios/plugins/check_disk -w 20% -c 10% -p /dev/hda1
command[check_zombie_procs]=/usr/lib64/nagios/plugins/check_procs -w 5 -c 10 -s Z
command[check_total_procs]=/usr/lib64/nagios/plugins/check_procs -w 150 -c 200
command[check_swap]=/usr/lib64/nagios/plugins/check_swap -w 20 -c 10
[...]
:wq (save)
Restart the nrpe service in remote host.
[root@linuxstorages ~]# service nrpe restart
[root@linuxstorages ~]# chkconfig nrpe on
Step 6 : Now switch back to Nagios server and edit below configuration file.
By default NRPE command wont be available in commands.cfg, to execute the in check_nrpe command in configuration file we need to add it in commands.cfg
[root@linuxstorages ~]# vi /etc/nagios/objects/commands.cfg
# add at the bottom
define command{
command_name check_nrpe
command_line $USER1$/check_nrpe -H $HOSTADDRESS$ -c $ARG1$
}
:wq (save)
Now Change configuration in nagios.cfg
[root@linuxstorages ~]# vi /etc/nagios/nagios.cfg
and uncomment the following lines.
## Line 52 - Uncomment ##
cfg_dir=/etc/nagios/servers
:wq (save)
Create a directory called “servers” under “/etc/nagios/”.
[root@linuxstorages ~]# mkdir –p /etc/nagios/servers
Now create a configuration files for remote host server's in /etc/nagios/servers path.
[root@linuxstorages ~]#cd /etc/nagios/servers
[root@linuxstorages ~]#vi client-server-1.cfg
Check nrpe configuration file in remote client machine so that we can use same command
in this file too.
define host {
use linux-server
host_name client-server1
alias client-server1
address 192.168.1.101
max_check_attempts 5
check_period 24x7
notification_interval 30
notification_period 24x7
}
define service {
use generic-service
host_name client-server1
service_description PING
check_command check_ping!100.0,20%!500.0,60%
}
define service {
use generic-service
host_name client-server1
service_description SSH
check_command check_ssh
notifications_enabled 0
}
define service {
use generic-service
host_name client-server1
service_description CPU Load
check_command check_nrpe!check_load
}
define service {
use generic-service
host_name client-server1
service_description Login Users
check_command check_nrpe!check_users
}
define service {
use generic-service
host_name client-server1
service_description Disk Usage
check_command check_nrpe!check_hda1
}
define service {
use generic-service
host_name client-server1
service_description Total Process
check_command check_nrpe!check_total_procs
}
define service {
use generic-service
host_name client-server1
service_description Swap Usage
check_command check_nrpe!check_swap
}
same configuration should to be done for all remote host client machines.
Restart the Nagios server, after all configuration's done in both client and server side.
[root@linuxstorages ~]#/etc/init.d/nagios restart
Running configuration check...done.
Stopping nagios: done.
Starting nagios: done.
Now access the Nagios Monitoring Tool in Web Interface by using Nagios admin link and make sure services for remote host.
Nagios Host View
Nagios Service View


